Replacement Inner Sleeves for UK 1960s Flipback Record Jackets
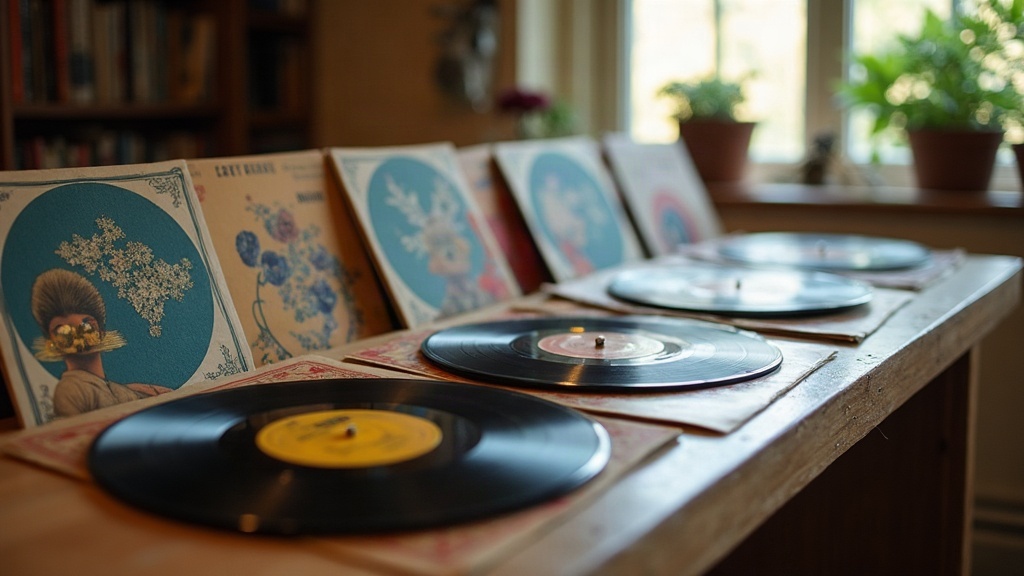
Choosing replacement inner sleeves for UK-made 1960s flipback record jackets means matching the sleeve to the odd dimensions and the fragility of these early “flip-back” covers. Archival-safe materials matter more here than they do with ordinary jackets, because cheap PVC or rough paper can scratch the vinyl or stain the outer cover permanently. Here’s what to look for, what to steer clear of, and how to fit new sleeves without wrecking a collectible original in the process.
What Makes Flipback Jackets Different
Flipback jackets, common on UK pressings from labels like Decca, Parlophone, Columbia (EMI), and early Island releases, have a front panel that folds over and glues to the back. That creates a double-thickness lip running around three edges, and it changes everything about how you handle the sleeve.
- The opening usually sits on the top edge, not the side, which trips up a lot of people used to modern US-style jackets.
- Overall depth often runs a few millimeters shorter or narrower than standard 12-inch sleeves. Blame it on manufacturing tolerances from the era.
- The glued flap is brittle after 60-plus years. Force a sleeve in at an angle and it tears, sometimes instantly.
So a generic “standard 12-inch inner sleeve” grabbed without checking orientation might just be the wrong fit, or worse, it’ll push you into loading the record sideways. That’s exactly how seams split.
Key Qualities to Look For
1. Material Safety
Skip PVC-based sleeves altogether. PVC releases plasticizers over time, and those migrate straight into the vinyl, leaving sticky residue and sometimes a permanent haze on the surface. Go for these instead:
- HDPE (high-density polyethylene): static-resistant, cheap, easy to find.
- Rice paper / poly-lined paper: the old-school choice, gentle on labels, doesn’t build static, works well for records prone to static crackle.
- Archival polypropylene: a bit stiffer, suited to high-value pressings you really don’t want to gamble on.
2. Correct Dimensions
Standard inner sleeves run roughly 12.375 x 12.375 inches (31.4 x 31.4 cm), but plenty of flipback jackets are noticeably tighter than that. Measure the actual internal pocket of your jacket before ordering a stack of sleeves. Buying 50 of the wrong size is a mistake collectors make constantly, and it’s entirely avoidable. If your jackets run small, search for UK-specific or “vintage fit” listings rather than grabbing generic US replacements off the shelf.
3. Opening Orientation
Since flipback jackets open from the top in most cases, pick sleeves with a center or top-biased opening rather than ones built for side-loading gatefolds. A center-seamed sleeve works fine either way, so if you’re not sure what you’re dealing with, that’s your safest bet.
4. Rounded or Reinforced Corners
Sharp paper corners snag on that delicate glued flap tucked inside a flipback. Sleeves with rounded corners, or a soft poly lining, cut down the odds of catching and tearing the inner seam every time you slide the record in or out.
Step-by-Step: Replacing the Sleeve Safely
- Pull the record out first, holding it only by the edges.
- Check the glued seams. If they’re already lifting, support the flap with your hand while you slide the old sleeve free.
- Slide the new sleeve into the jacket empty, lining it up with the opening edge.
- Ease the record in label-first, nice and slow, keeping it centered so the edge never brushes the jacket’s inner glue line.
- Store the jacket upright, never flat. Flat storage keeps the seam under constant stress.
Common Mistakes to Avoid
- Buying in bulk before testing one. Order a single sleeve, test it against your actual jackets, then commit to the rest.
- Using resealable poly bags as “sleeves.” They trap moisture, and in damp UK storage that’s basically an invitation for mold.
- Ignoring label wear. Rough paper without a poly lining will scuff labels after repeated use, which is a dealbreaker on anything collectible.
- Forcing a too-large sleeve in. Every removal stresses the seam a bit more, and eventually the glued flap gives out.
Where to Source Them
UK vinyl supply specialists and record fair vendors often carry sleeves cut specifically for the shorter dimensions of 1960s UK jackets, sometimes labeled “vintage” or “mono-era fit.” These tend to fit far better than generic imports sized for modern US gatefolds, so it’s worth hunting them down rather than settling for whatever’s cheapest online.
Conclusion
Replacing inner sleeves on UK-made 1960s flipback jackets is about more than keeping dust off the vinyl. You’re protecting a fragile piece of pressing history, one that can’t really be replaced once the seam goes. Pick non-PVC, correctly sized, rounded-corner sleeves with a top-friendly opening. Test the fit before buying a stack. Handle those brittle flipback seams like they’re worth something, because they are. A few pounds spent properly can add decades to the life of both the record and the artwork wrapped around it.